


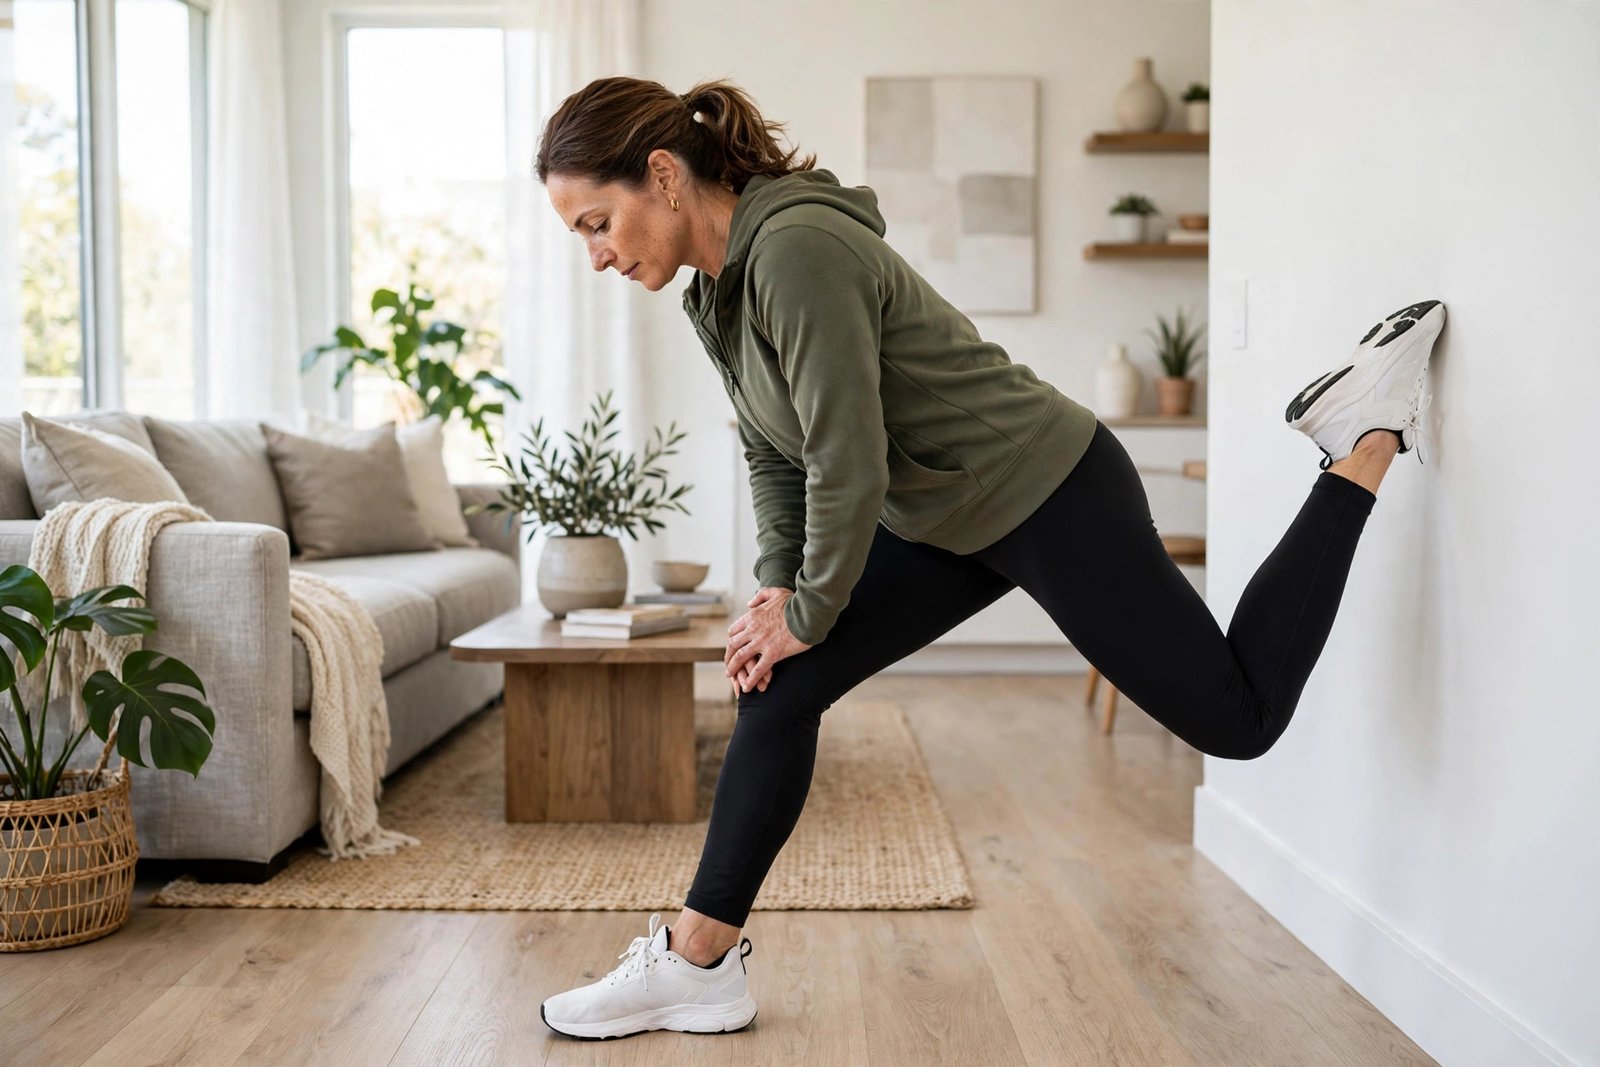
If you want to get bendier without buying a single piece of equipment, wall stretches for flexibility are the smartest place to start. In fact, you already own the main prop: any sturdy wall in your home. In fact, with a wall beside you, these wall stretches for flexibility let you steady your balance and deepen each stretch gently. They also help you hold positions that would feel wobbly on their own.
First, this guide is built for real beginners and for anyone who feels nervous about balance. You will learn why the wall works so well and how to use it safely. You will also get a simple full-body routine you can do in about ten minutes. In fact, there are no floor acrobatics here, and there is nothing to buy. Just you, a wall, and a few quiet minutes.
Why Wall Stretches for Flexibility Are Perfect for Beginners
Indeed, most beginners do not struggle with stretching itself. However, they struggle with balance, awkward positions, and fear of falling. As a result, the wall solves all three problems at once. In fact, it acts like a steady partner that never moves, never judges, and never gets tired.
First, the wall gives your body a reliable reference point. Therefore, when one hand stays in contact with a solid surface, your nervous system relaxes. As a result, tight muscles let go more easily, and you can reach a deeper stretch with less effort.
Second, the wall improves your form without any coaching. For example, during a calf stretch it keeps your back foot flat and your heel down, which is exactly where it should be. Similarly, in a chest opener it stops you from twisting your spine into a bad angle. This built-in guidance makes wall stretches for flexibility a great teacher while your body awareness is still developing.
Finally, these stretches build confidence quickly. Moreover, each session shows you a little more range, and that small win keeps you coming back. In fact, consistency matters far more than intensity, so a gentle daily habit will beat one heroic workout every time. You can also pair them with a broader full body flexibility routine on days when you want a longer session.
How the Wall Makes Every Stretch Safer
Indeed, the wall does three quiet jobs during a stretch. First, it protects your balance so you never have to tense up from fear. Second, it limits how far you can go, which prevents the classic beginner mistake of pushing too hard too fast. Third, it lets you relax into the position instead of fighting gravity.
Think of the wall as training wheels for mobility. Training wheels do not make cycling less effective; rather, they let you practice longer and more calmly. Likewise, a wall-supported stretch still lengthens the same muscles. As a result, it simply removes the wobble that shortens most holds. For this reason, wall stretches for flexibility work beautifully as a daily habit.
Before You Start: A Few Simple Ground Rules
First, you do not need a warm-up ritual before wall stretches for flexibility, but a few gentle rules will keep every session safe and pleasant. Indeed, follow them each time, and your body will thank you.
- Choose a clear, non-slippery spot beside a sturdy wall. Remove rugs that slide, and wear shoes or grippy socks if the floor is smooth.
- However, stretch only to mild tension, never sharp pain. Aim for a 4 or 5 out of 10 on the intensity scale. Therefore, if something hurts, back off immediately.
- Also, breathe slowly through each hold. Indeed, deep breathing tells your nervous system that it is safe to release tension. In addition, never hold your breath during a stretch.
- Hold each stretch for 20 to 30 seconds per side. Beginners can start at 15 seconds and build up gradually.
- Finally, move slowly in and out of positions. In fact, jerky or bouncy movements can trigger a muscle reflex that makes you tighter, not looser.
If you are brand new to stretching in general, our stretching exercises for beginners guide covers the same basics in more detail. Finally, once you feel comfortable with these rules, you are ready for the routine below.
9 Wall Stretches for Flexibility You Can Do Today
This routine moves from your legs up to your shoulders and finishes with a relaxing floor position. Therefore, do the stretches in order, spend about a minute per move, and you will have covered your whole body. In addition, complete each stretch on both sides where marked.
1. Standing Wall Calf Stretch
Face the wall and place both hands on it at shoulder height. Step one foot back about two feet, keeping that heel pressed flat on the floor. Then lean your hips gently toward the wall until you feel a comfortable pull in the back of your lower leg.
Keep your back knee straight but not locked. Hold for 20 to 30 seconds, then switch sides. In fact, this simple move loosens calves that tighten from sitting or walking on hard floors.

2. Wall-Supported Standing Hamstring Stretch
Stand facing the wall at arm’s length and place your hands on it for support. Step one foot forward about a foot and rest your heel on the floor with your toes pointing up. Next, hinge forward slightly from your hips while keeping your back flat.
Indeed, you should feel a gentle stretch along the back of your thigh. If you feel nothing, however, take a slightly wider stance. On the other hand, if the pull is intense, move your hands higher up the wall to ease off. Hold for 20 to 30 seconds per leg.
3. Wall Quad Stretch With Balance Support
Stand sideways to the wall with one hand resting on it at shoulder height. Bend your far knee and catch your ankle or pant leg behind you. Then gently pull the foot toward your glute while keeping your knees close together.
Meanwhile, stand tall and avoid arching your lower back. In fact, tucking your tailbone slightly will deepen the stretch in your thigh. Hold for 20 to 30 seconds, then switch sides. However, if grabbing your foot is too hard, a light towel looped around the ankle works just as well.

4. Wall Hip Flexor Lunge
Face away from the wall and take a large step forward into a lunge. Place the toes of your back foot against the base of the wall, with the top of that foot resting on the floor. In addition, you can lightly touch the wall beside you for extra balance if needed.
Sink your hips down and slightly forward until you feel a stretch at the front of your back hip. Meanwhile, keep your front knee stacked over your ankle. Hold for 20 to 30 seconds per side. Indeed, this one is a lifesaver for anyone who sits at a desk all day.
5. Wall Figure-Four Glute Stretch
Stand facing the wall with both hands on it at shoulder height. Cross one ankle over the opposite knee, making a figure-four shape with your legs. Then bend your standing knee and sit your hips back like a mini squat.
In fact, you will feel a deep but comfortable stretch in the glute of the crossed leg. In addition, adjust the depth by bending more or less. Hold for 20 to 30 seconds per side. Indeed, tight glutes are a common source of lower-back stiffness, so this stretch pays off well beyond the hips.

6. Wall Chest Opener
Stand sideways to the wall with your nearest arm extended behind you at shoulder height. Place your palm or forearm flat against the wall. Then slowly turn your chest away from the wall until you feel a gentle stretch across your chest and the front of your shoulder.
Meanwhile, keep your shoulder down and away from your ear. Hold for 20 to 30 seconds, then repeat on the other side. For instance, desk workers often feel instant relief here after years of rounded shoulders.
7. Wall Cross-Body Shoulder Stretch
Face the wall and place your hands on it at shoulder height. Step back about two feet and hinge at your hips, dropping your chest toward the floor. Your arms should form one long line with your back, and your forehead can hang relaxed between your arms.
In fact, this position stretches your shoulders, lats, and upper back all at once. However, if your shoulders feel pinched, widen your hands slightly. Hold for 20 to 30 seconds and breathe into the stretch. Moreover, it doubles as a lovely reset between long work sessions.
8. Standing Wall Side Stretch
Stand with your right side close to the wall and rest your right hand on it. Raise your left arm overhead and lean gently toward the wall, reaching your arm long. Indeed, you should feel a stretch along your left side, from hip to armpit.
Meanwhile, keep your hips facing forward rather than twisting. Hold for 20 to 30 seconds, then switch sides. Similarly to the other moves here, the wall keeps you honest about alignment so the right muscles do the work.
9. Legs Up the Wall
Finish on the floor. First, sit sideways against the wall, then swing your legs up as you lie back. In addition, scoot your hips as close to the wall as feels comfortable. Rest your arms by your sides and let your whole body relax.
This restorative pose gently stretches your hamstrings and calves while giving your tired legs a rest. In addition, it feels wonderful after a long day on your feet. Finally, stay here for one to two minutes, breathing slowly. Indeed, many people find it doubles as a mini meditation.
Your 10-Minute Daily Plan for Wall Stretches for Flexibility
Nine stretches might sound like a lot, but the whole routine takes about ten minutes once you know the moves. First, do the five lower-body stretches, then the three upper-body moves, and finish with legs up the wall. That order warms your largest muscles before moving to smaller ones.
Here is how the timing breaks down. Spend about 30 seconds per side on each standing stretch, which comes to roughly one minute per move. Then rest for two minutes in legs up the wall. In total, that is around ten minutes of calm, focused movement.
If ten minutes of wall stretches for flexibility still feels like too much, start with just three moves. The calf stretch, the hip flexor lunge, and the chest opener cover the three areas that tighten fastest from modern life. Later, as the habit sticks, add the rest one by one. Similarly, on days with extra time, repeat the full circuit a second time for a twenty-minute session.
How Often Should You Do Them?
For most beginners, three to five sessions of wall stretches for flexibility per week is the sweet spot. That frequency gives your tissues time to adapt between sessions while still building a steady habit. Moreover, each session is short enough that skipping it feels silly, which keeps motivation high.
Pay attention to how your body responds over the first two weeks. If you feel comfortably loose each morning, you are on track. On the other hand, if a stretch suddenly feels harder than the day before, take a lighter day or rest entirely. Flexibility improves in waves, not in a straight line, so patience is part of the method.
You can also mix this routine with other formats for variety. For example, after a couple of weeks of wall work you may enjoy trying a dedicated wall straddle stretch. You can find it in our wall straddle stretch guide. As your balance improves, blending supported and free-standing moves keeps progress interesting.
Frequently Asked Questions
Are wall stretches for flexibility enough on their own?
Yes, for most beginners they are plenty. These nine moves cover every major muscle group, and the wall keeps your form honest. As you advance, however, you may want to add free-standing or floor-based stretches for variety. The key is to master the basics first rather than collecting dozens of moves you rarely use.
How long until I notice results?
Most people feel looser within the first week of consistent practice. Noticeable changes in range of motion, such as touching your toes more easily, usually arrive within four to six weeks. However, results depend on consistency, so three short sessions a week will beat one long session easily.
Can I do these stretches every day?
Yes, gentle static stretching is safe to do daily as long as you stay within comfortable limits. Indeed, daily wall stretches for flexibility often produce the fastest gains because the habit reinforces itself. Just keep the intensity mild and skip any move that causes pain on a given day.
What if I cannot touch the wall in some positions?
Then you are not close enough, and that is completely fine. Move nearer until your hand reaches comfortably, or place your fingertips on a door frame instead. The wall is a tool for support, not a test you must pass. Your range will grow naturally with practice.
Should I stretch before or after exercise?
Use these gentle stretches after exercise or as a standalone session. Before a workout, dynamic movement is generally better than static holds. That said, a light wall calf or hip flexor stretch after your walk or workout works beautifully as a cool-down. According to Harvard Health, regular stretching keeps muscles flexible and healthy, which supports everything else you do. You can read more in their guide to the importance of stretching.
Do I need any equipment at all?
No, the wall is all you need. A folded towel under your knee can add comfort for any move that involves kneeling, but it is optional. This is exactly why wall stretches for flexibility suit small apartments, hotel rooms, and office corners alike. Healthline also notes that consistent stretching supports joint range of motion and everyday movement. This is explained in their article on the benefits of stretching.
Conclusion
The wall is the most underrated stretching tool in your home. It steadies your balance, protects your form, and lets tight muscles relax instead of fight. Because of that support, wall stretches for flexibility turn a daunting habit into a ten-minute routine anyone can keep.
Start today with just three of these wall stretches for flexibility: the calf stretch, the hip flexor lunge, and the chest opener. Then add the rest over the coming weeks as your confidence grows. In addition, remember that consistency will always beat intensity, so show up most days and let the small gains compound.
Your future self, the one who moves easily and wakes up without stiffness, is built from sessions exactly like this one. Find your wall, take a deep breath, and begin.
