


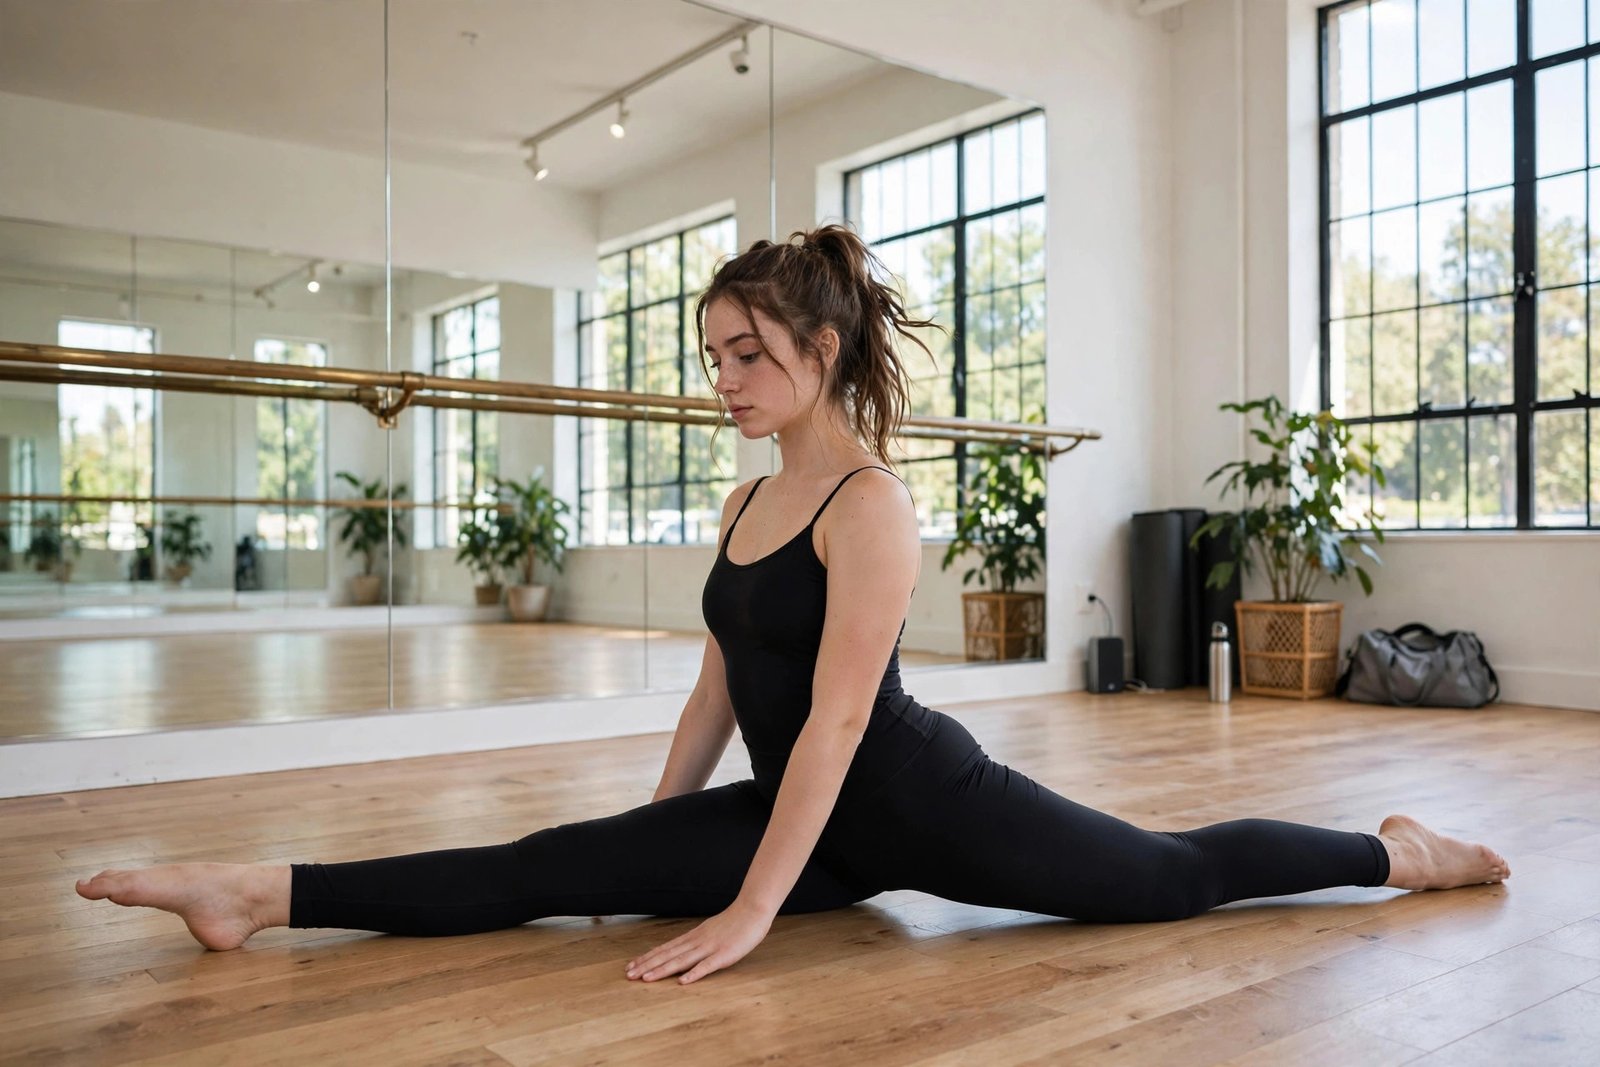
If you have ever watched someone slide effortlessly into the splits and thought, “I could never do that,” this plan is for you. In addition, this split stretch routine is a true follow-along training program. Not a random list of stretches, but a structured schedule that tells you exactly what to do, how long to hold each position, and when to push a little further.
You train four days a week, about 30 minutes per session. Each week builds on the last, so your hamstrings, hip flexors, and adductors open up gradually instead of being forced. Also, no guessing, no wondering whether you are doing enough. Stay consistent with this split stretch routine and the results will compound week after week.
Whether your goal is the front split, the middle split, or both, this four-week routine gives you a clear path from stiff to flexible. Pick your goal, clear a little floor space, and let’s get started. In fact, the real magic of a split stretch routine shows up after two to three weeks of steady practice.
How This Split Stretch Routine Works
In fact, the routine alternates between two training days. Session A targets everything you need for the front split: hamstrings, hip flexors, and quadriceps. Session B targets everything you need for the middle split: inner thighs, adductors, and groin. Even on busy days, a shorter version of this split stretch routine beats skipping it entirely.
You follow a simple weekly rhythm that never changes, which means the only thing that changes is the intensity. Here is your schedule for all four weeks: Most people feel the benefits of a split stretch routine within the first ten days.
- Monday: Session A (front split focus)
- Tuesday: Rest or light walking
- Wednesday: Session B (middle split focus)
- Thursday: Rest or light walking
- Friday: Session A (front split focus)
- Saturday: Rest or light walking
- Sunday: Session B (middle split focus)
In fact, the rest days are not optional. Flexibility improves when your muscles recover and adapt between sessions, not while you are stretching. Skipping rest days is one of the fastest ways to stall your progress. Also, make this split stretch routine a non-negotiable part of your day, like brushing your teeth.
Each session starts with the same five-minute warm-up, because stretching cold muscles is a recipe for injury. After that, you move through five targeted stretches with exact sets and hold times. Write down your hold times if it helps — seeing the numbers climb week to week is incredibly motivating. In fact, a split stretch routine done regularly will change how your whole body feels.
Session A: Front Split Training Day
Front splits ask a lot from two muscle groups at once: the hamstring of your front leg and the hip flexor of your back leg. If either one is tight, the split will not happen. In addition, this session opens both, plus the glutes and quads that support the position. Stay consistent with this split stretch routine and the results will compound week after week.
Warm-up (5 minutes): March or jog in place for two minutes to raise your body temperature. Then do 20 leg swings forward and back on each leg, 15 hip circles in each direction, and 10 bodyweight squats. You should also feel lightly warm, not tired. In fact, the real magic of a split stretch routine shows up after two to three weeks of steady practice.
1. Deep Low Lunge (back knee down) — Step one foot far forward and drop your back knee to the floor. Sink your hips down and slightly forward until you feel a deep stretch in the front of your back hip. Also, keep your torso tall and your core braced. Hold 45 seconds per side, 2 sets. Even on busy days, a shorter version of this split stretch routine beats skipping it entirely.
2. Half Split (kneeling hamstring stretch) — From the low lunge, shift your hips back so your front leg straightens and your back knee stays under your hip. Flex the front foot and hinge forward from your hips until you feel your hamstring stretch. Hold 45 seconds per side, 2 sets. If you want extra hamstring work outside this routine, our guide to front split stretches breaks down each position in detail. Most people feel the benefits of a split stretch routine within the first ten days.
3. Pigeon Pose — From a hands-and-knees position, bring your right knee forward behind your right wrist and slide your left leg straight back. Square your hips and walk your hands forward. You should also feel this deep in the glute of your bent leg. Hold 45 seconds per side, 2 sets.
4. Supported Split Slides — Place yoga blocks, thick books, or firm pillows under your hands. Then, start in a low lunge and slowly slide your front foot forward and your back leg back, letting your hands take most of your weight. Also, lower only as far as you can keep your hips square and your breathing relaxed. Hold 60 seconds per side, 2 sets.
5. Standing Split Prep (foot on chair) — Face a sturdy chair or bench and rest one heel on it with your leg straight. Then, hinge forward from your hips with a flat back until you feel a strong hamstring stretch. Hold 45 seconds per side, 2 sets.
Session A takes about 30 minutes. If you are unsure about your form in the final split position, check our step-by-step guide to doing the splits before your first supported slide. Good alignment now saves you months of frustration later.
Session B: Middle Split Training Day
Middle splits are all about the adductors — the muscles of the inner thigh. Most people neglect these muscles entirely, which is why middle splits feel so much harder at first. In addition, this session gives them the focused attention they deserve.
Warm-up (5 minutes): Same as Session A. Jog in place for two minutes, then 20 lateral leg swings per leg, 15 hip circles in each direction, and 10 bodyweight squats. Warm hips make everything in this session more effective.
1. Frog Stretch — On hands and knees, walk your knees wide apart with your feet flexed so the inner edges rest on the floor. Also, rock your hips gently back until you feel a deep inner-thigh stretch, keeping your back flat. Hold 45 seconds, 2 sets.
2. Seated Straddle (Pancake) — Sit on the floor and open your legs as wide as you comfortably can with your toes pointing up. Also, hinge forward from your hips with a long spine, walking your hands forward until you feel a strong inner-thigh and hamstring stretch. Hold 45 seconds, 2 sets.
3. Cossack Side Lunge Stretch — Stand with your feet wide. Shift your weight to the right, bending your right knee while your left leg stays straight with the foot flexed. Then, keep your chest up and sink until you feel the inner thigh of the straight leg stretch. Hold 30 seconds per side, 2 sets.
4. Standing Wide-Leg Forward Fold — Stand with your feet wide apart, toes pointing slightly out. Also, hinge at your hips and fold forward, letting your hands rest on the floor or on blocks in front of you. Let your head hang heavy. Hold 45 seconds, 2 sets.
5. Wall Straddle — Lie on your back with your hips close to a wall and your legs resting up against it in a wide straddle. Also, let gravity pull your legs apart gently; you can add light pressure with your hands on your inner thighs. Indeed, this is the gentlest way to accumulate time in a straddle position. Hold 60 seconds, 2 sets. Our middle split stretch guide shows the proper setup if you are new to this position.

Like Session A, this workout takes about 30 minutes. Also, notice that both sessions end with a supported or assisted version of the goal position. Ending in the position you are training for teaches your nervous system that the shape is safe — and that is half the battle.
Your 4-Week Split Stretch Routine Progression Plan
The sessions above never change. What changes each week is the dose: longer holds, more sets, and added strength work. In addition, this gradual overload is what turns a few stretches into a real split stretch routine that delivers results.
Week 1: Build the Baseline
Follow both sessions exactly as written above. In fact, your only job this week is to learn the positions and find the right intensity. Each stretch should feel like a 6 or 7 out of 10 — a clear, deep stretch, but nothing sharp or painful.
At the end of each session, take one honest photo of your deepest supported split. As a result, you will compare this to Week 4. Do not be discouraged if you are nowhere near the floor — that is what the next three weeks are for.
Week 2: Add Time Under Tension
In addition, this week, add 15 seconds to every hold in both sessions. The 45-second holds become 60 seconds, the 30-second holds become 45 seconds, and the 60-second holds become 75 seconds. Also, keep the same number of sets.
As a result, you will notice the sessions feel harder even though the exercises are identical. Indeed, that is the point — your muscles are spending more time in lengthened positions, and that sustained time is what signals them to adapt. If a stretch creeps past a 7 out of 10, ease off slightly rather than forcing it.

Week 3: Add Active Strength
Flexibility without strength is fragile. This week, after each passive hold, add one 10-second active contraction: in the deep lunge, press your back foot into the floor as if you were trying to drag it forward. In the half split, press your front heel into the floor; in the frog stretch, squeeze your knees toward each other against the floor’s resistance.
Then relax and sink slightly deeper for 10 more seconds. In addition, this contract-relax pattern teaches your muscles to be strong in their new range, which protects your joints and locks in your gains. Finish each session by attempting one full split per side, supported by blocks, and hold whatever depth you reach for 30 seconds.
Week 4: Test and Peak
Monday’s Session A is your first official test day. Warm up thoroughly, then slide into a front split on each side and hold your deepest safe position for 60 seconds. Compare your hip height to your Week 1 photo — most people are shocked by the difference.
Wednesday’s Session B is lighter: do one set of each exercise at Week 1 hold times, then test your middle split against the wall or in the center of the room. Friday’s Session A is your final assessment. Attempt full front splits again, then celebrate — whether you reached the floor or simply got dramatically closer, you now have a working split stretch routine you can repeat anytime.
How to Track Your Progress
Also, progress in flexibility is slow and easy to miss day to day, which is why so many people quit in week two. Track it properly and the small wins become obvious — and motivating.
In fact, the simplest method is the block test. Also, slide into a supported split and count how many yoga blocks, books, or pillows fit under your front thigh at your deepest comfortable depth. Write the number down after each Monday session. Watching the stack shrink is one of the most satisfying feelings in training.
Photos work even better. Also, take your picture from the same side, in the same spot, at the end of each week. Compare Week 1 and Week 4 side by side — the difference will be far more dramatic than what you felt in the moment. Reading about a writer’s 30-day splits journey shows how normal it is for progress to come in uneven bursts rather than a smooth line.

Also track how each stretch feels on a simple 1-to-10 scale. When a position that used to be a 7 becomes a 4, that is real progress even if your split depth has not changed yet. Feeling comes before measuring, and measuring comes before the floor.
Safety Rules: Stretch Without Getting Hurt
In fact, a split stretch routine only works if you stay healthy enough to finish it. These rules are non-negotiable, especially in the first two weeks when enthusiasm is highest and tissues are least prepared.
Always warm up first. Five minutes of light movement raises muscle temperature and makes the tissue more elastic. Stretching cold hamstrings and adductors is one of the most common causes of strains. Healthline’s guide to doing the splits safely makes the same point: heat and mobility first, splits second.
Learn the difference between discomfort and pain. A deep, spreading stretch sensation is fine. Sharp, pinching, or shooting pain — especially near joints — is your body telling you to back off immediately. Never push through joint pain, and never let anyone push you deeper into a stretch.
Never bounce. Ballistic bouncing in a stretch triggers the stretch reflex, which makes the muscle contract to protect itself. You get the opposite of what you want, plus a higher injury risk. Also, move slowly into each position and hold it there.
Breathe through every hold. It is natural to hold your breath when a stretch gets intense, but that tenses your whole body. Then, take slow, deep breaths and try to sink a millimeter deeper on each exhale. In fact, your nervous system relaxes when your breathing stays calm.
Keep your hips square. In front splits, both hip bones should face forward, not twist open to the side. In middle splits, your pelvis should stay neutral rather than tilting forward. Square, aligned hips stretch the right muscles and protect your lower back and knees.
If you feel unusually sore the day after a session, take an extra rest day. Mild soreness is normal; limping is not. In addition, this routine is built on consistency over weeks, not heroics in a single session.
Frequently Asked Questions
How long will it take to get the splits with this routine?
In addition, it depends on your starting point, age, and consistency. If you are already fairly flexible, four weeks may be enough to reach the floor. If you are starting very stiff, expect eight to twelve weeks of repeating the routine before you get all the way down. The good news is that most people see a dramatic improvement in the first four weeks, which makes continuing easy.
Can I do this split stretch routine every day?
You should not. In fact, the program is designed for four sessions per week with rest days between them, and the rest days are part of the training. Stretching the same muscles hard every day without recovery increases injury risk and can actually slow your progress. If you want to do something on rest days, go for a walk or do gentle, easy movement — not another full session.
How long should I hold each stretch?
Follow the hold times in the sessions above: mostly 45 seconds per side in Week 1, building to 60 seconds and beyond in later weeks. Research and coaching experience both suggest that holds in the 30-to-60-second range, repeated for multiple sets, are the sweet spot for lasting flexibility gains. Shorter holds do not give the tissue enough time to adapt; much longer holds tend to cause people to tense up and quit.
Is it normal to feel pain when stretching for the splits?
Deep discomfort is normal; pain is not. You should also feel a strong, spreading stretch in the belly of the muscle — the hamstring, the hip flexor, or the inner thigh. Sharp, stabbing, or pinching sensations, especially around the knee, hip joint, or lower back, mean you have gone too far. Back off until the sensation turns into a stretch again. If joint pain persists, see a physical therapist before continuing.
Should I train front splits or middle splits first?
Train both, which is exactly what this routine does. Most people find front splits come easier because the hamstrings and hip flexors respond quickly to consistent work. Middle splits often take longer because the adductors are stubborn. Doing both keeps your hips balanced and prevents the lopsided tightness that comes from training only one direction.
What if I can’t get anywhere near the floor in the supported split?
Indeed, that is completely fine — and exactly why the routine uses blocks, books, and pillows. In fact, your job is not to reach the floor; it is to hold your deepest safe position with square hips and relaxed breathing. The support lets you spend quality time in the shape without collapsing or twisting. As the weeks pass, the stack of support gets shorter on its own.
Do I need any equipment for this routine?
No special equipment is required. In fact, a mat or carpeted floor, a wall, and a sturdy chair are enough for every exercise. Yoga blocks are nice for the supported split slides, but thick books or firm pillows work just as well. In addition, this entire split stretch routine is designed to be done at home.
Conclusion
You now have everything you need: two focused sessions, a four-week progression plan, exact sets and hold times, and a way to track your progress. In fact, the only thing standing between you and the splits is consistency. Four sessions a week, rest days respected, and patience with your own body.
Start this week. Then, take your Week 1 photo, follow Session A on Monday, and trust the process. Four weeks from now, you will be amazed at how far a little structured stretching can take you. And if you are not on the floor yet, simply run the routine again. In fact, your splits are not a question of if, but when.
